Snake plants need repotting to ensure they have enough root space, fresh nutrients, improved soil quality, disease prevention, encouraged growth, and better aesthetics.
When to Repot Snake Plant
Definitely the best time to do is spring or early summer when the growth of the plant is active, and It’s better to repot snake plants every two or three years.
I remember when I was checking my snake plant; I noticed that the roots began to grow outside the pot. In other words, it got so-called root-bound. Also, my snake plant is not growing that much and has become very heavy, so I realized that it is time to change the snake plant pot.
Tips Before Repotting Snake Plants
Although repotting can solve some issues with the snake plant, if your plant is in very poor health conditions, do not repot it as it will cause a lot of stress and it may cause its complete death.
The second point is that: Water the snake plant a day before repotting to make the process easier and avoid causing any damage to the plant.
How to Repot a Snake Plant Step by Step
Repotting all types of snake plants is very comfortable and similar, but you must know the ins and outs of Sansevieria care to make sure everything goes well.
Now, I want to tell you about my experience with repotting snake plants in steps:
1. Making ready the materials needed
If I recall correctly, I went to a gardening shop and bought a new pot with drainage holes, well-draining soil mix, a trowel or small shovel, a watering can and gloves.

2. Prepare a new pot
I chose a pot that I wanted, and then I covered the bottom with a layer of soil mixture with good drainage.
3. Removing the plant from its old pot
I gently tapped the slide of the snake plant pot, loosened the soil with a knife, and then slowly took the snake plant out of its pot.
4. Root loosening
The roots were tight, so I got my fingers between them slightly, made the roots apart, and loosened them with my hands. Moreover, I trimmed any dead or too-long roots with clean scissors.
5. Putting the plant in a new pot
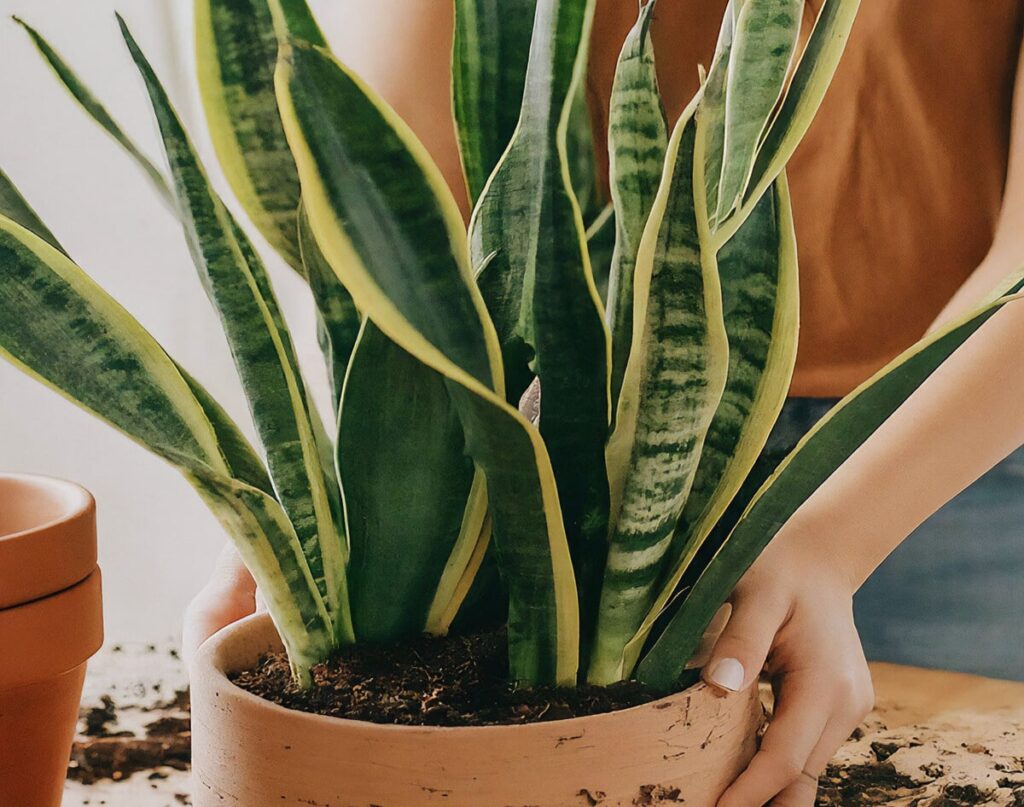
As I put the plant in the pot I just bought, I made sure that the root ball was in the middle. Then, I filled the roots with soil, pressed until the air holes came out, and removed all air pockets.
6. Full watering
In the next step, I watered the plant well until the soil settled. Then, I waited until the additional water was drained completely.
7. Position the new pot
In the last stage, I set up the new pot where the snake plant light requirements are provided.
Choosing the Correct pot for Snake Plants
Do you agree that if the new snake plant pot you buy is not suitable, all your efforts to repot a snake plant will be wasted? Therefore, pay attention to the following points when purchasing.
Pot Size
I usually take the size of the new pot with a diameter of one or two inches larger than the current one. A pot that is too large can keep too much moisture, and a pot that is too small will limit snake plant growth rate.
Material Considerations
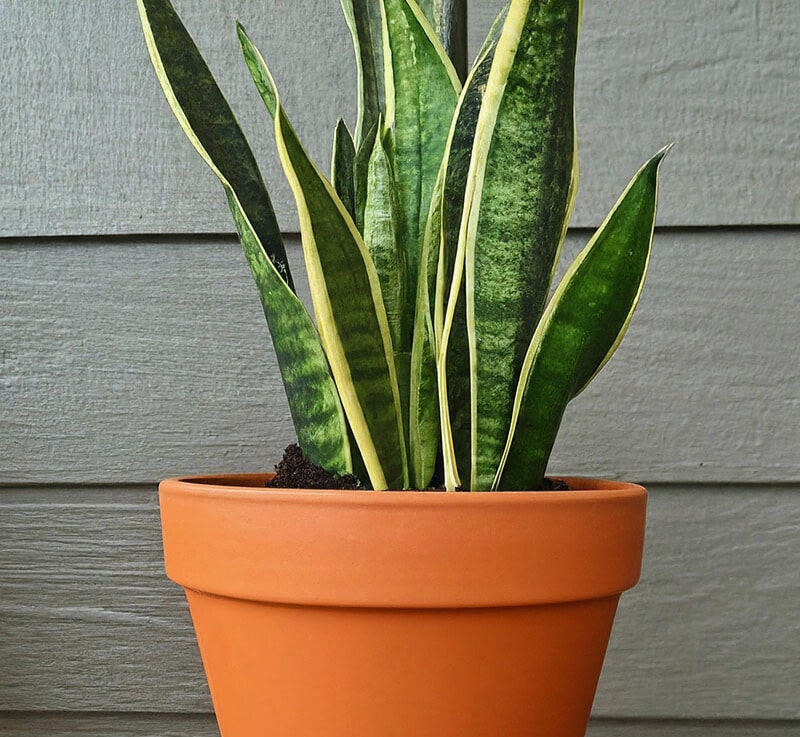
The seller offered me a pot made of terra cotta or ceramic, and I accepted because these materials work great for airflow and preventing moisture buildup. As far as I know, light plastic pots are not bad, but they maintain moisture for more time.
The bottom of all kinds of pots must have drainage holes or drill holes yourself to prevent water from storing, which can lead to snake plant root rot.
Pot Shape
Although the shape of the pot can be completely tasteful, if you ask me, I would say choose a pot with a wide base because when the plant grows and becomes tall, it may lose its balance and fall.
Choosing the Right Soil for Repotting
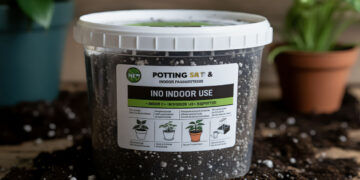
It is essential to make an informed decision about the snake plant soil. I always look for soil mixtures and plant needs when buying because they prevent snake plant problems and help absorb nutrients sufficiently.
Fertilizers
Here’s an important tip: wait until your plant has fully recovered, which takes about a month, before you start fertilizing snake plant to avoid causing stress.
When buying fertilizers, in order to see the best result, pay attention to their types and recommended products and brands, and certainly how to use each one.
Your thoughts and questions are welcome! Comment below and let’s talk.
